Butchering Meatbirds
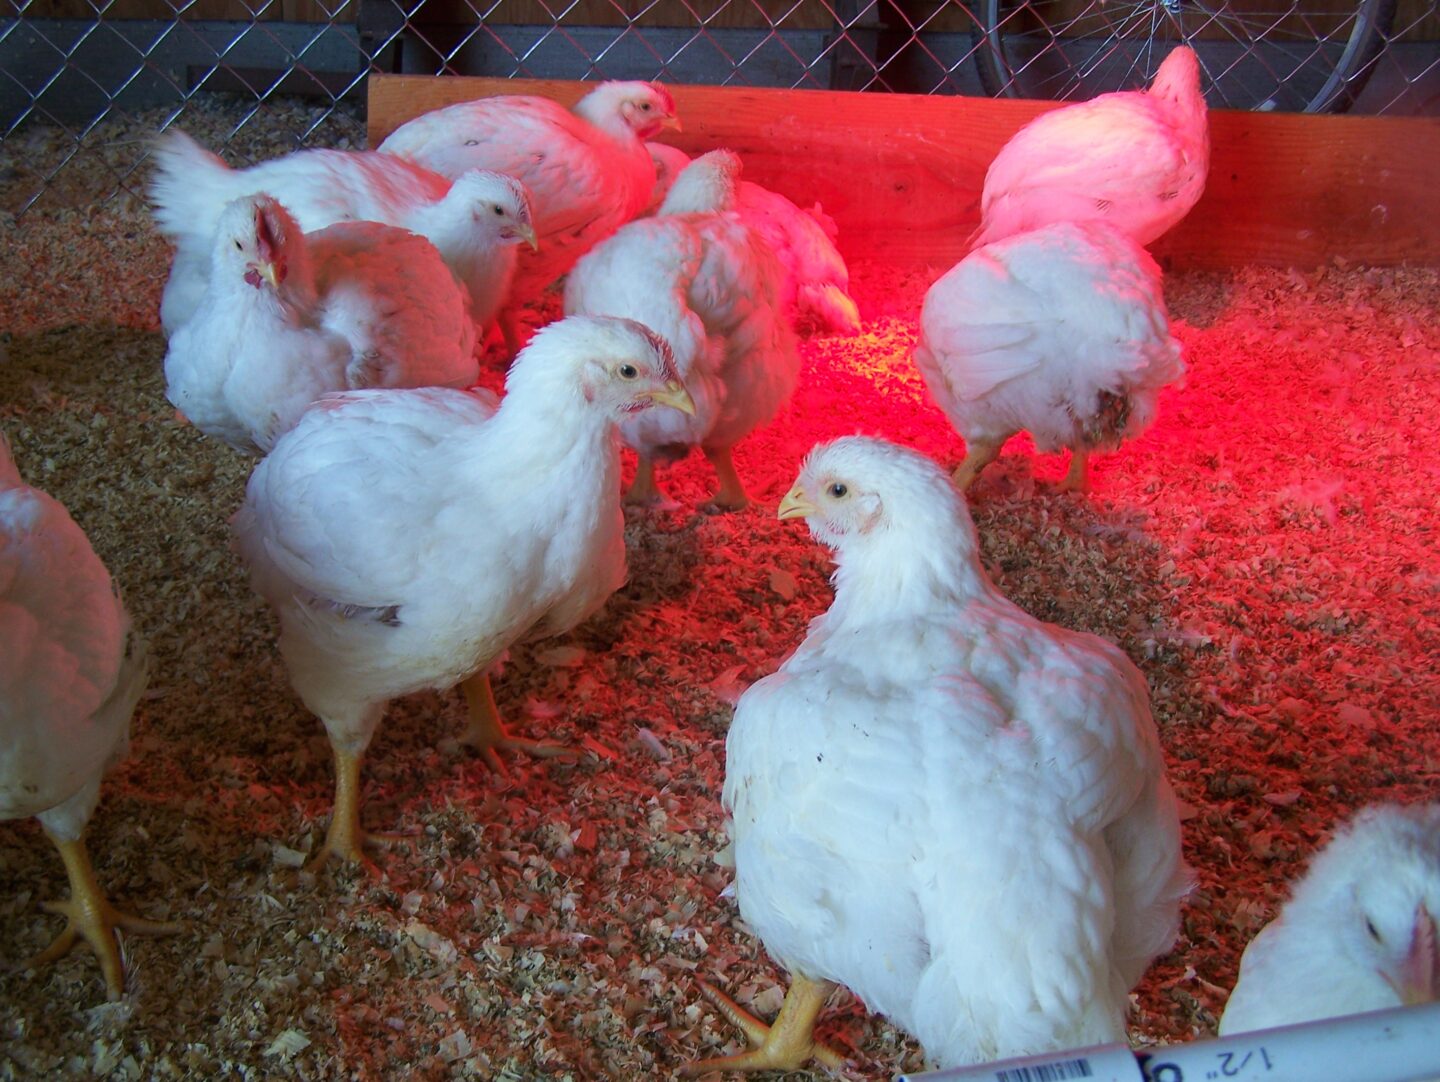
Raising meatbirds can be a very rewarding experience. There is a lot to recommend the process of raising your own food and a certain satisfaction that comes from knowing that you fed, raised, and cared for the meat you’re putting on your family’s table. The one step in raising meatbirds that can be somewhat intimidating is the butchering. Yes, it can be messy and smelly, but the truth is it is not that difficult to process your own birds. It just takes some time, a few special tools, and a non-existent gag reflex!
Preparation is key on butcher day. A good place to do the work is helpful – it will be quite messy, so doing these steps outside is recommended until you get to the final rinse and packaging phase.
There are a few things that make this job easier, and some that are just essential. In the essential category are:
- Finished birds
- Sharp knives
- A way to store the dressed birds
- Running water
To make the job easier, it is a great idea to have on hand the following items:
- A scalder (hot water bath to make plucking easier)
- Kill cone(s)
- A plucker (machine that automatically removes feathers)
- Lung removal tool (similar to a screwdriver with a toothed loop at the end)
- Vacuum sealer

To begin, make sure your scald water is heated to about 145 – 150 degrees farenheit. Take a bird and place it in a kill cone, so the head comes out the bottom while the rest of the cone limits movement. Slit the jugular vein and allow the blood to collect into the catch basins underneath the kill cones.
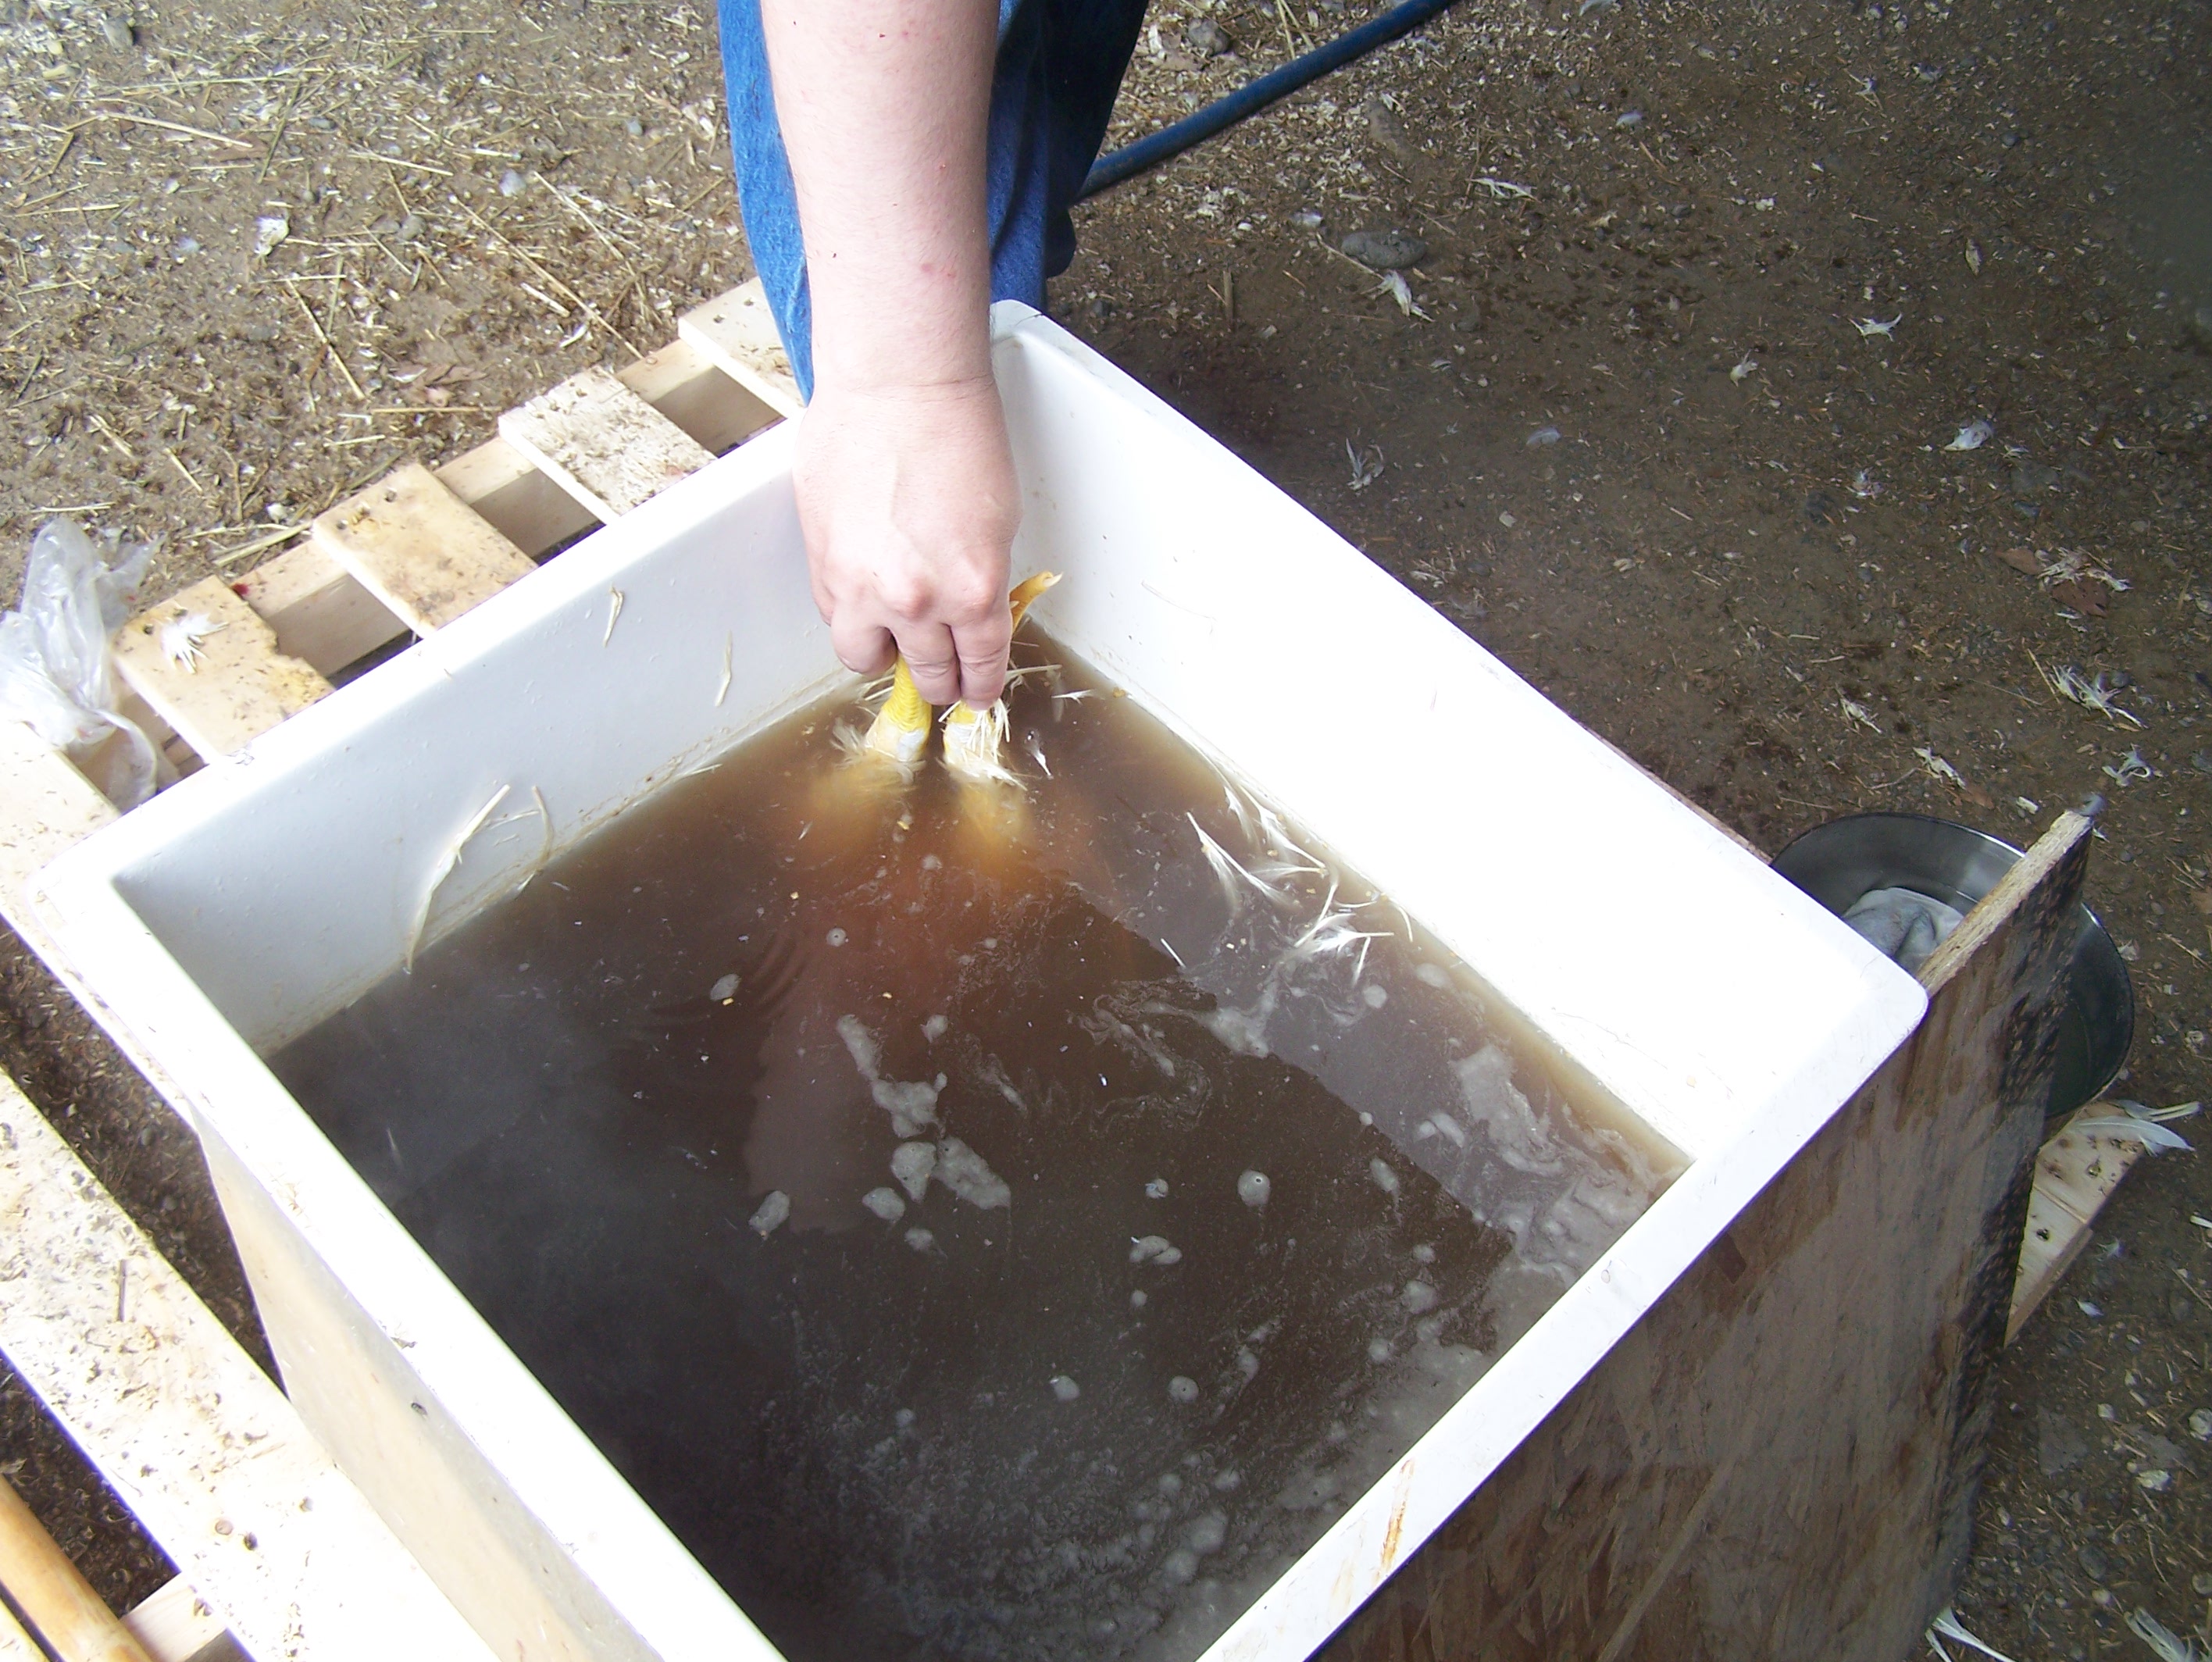
When the bird has bled out, remove it from the kill cone and, holding it by the feet, dunk it in your scald pot. Make sure to dunk it far enough in that the water covers those stubborn feathers just above the feet. Swish the bird under the water for about 10 seconds.
Pull the bird up and try pulling out one of the large wing feathers. If the feather comes out with no resistance, it is ready to pluck. If there is any resistance when you try to pull out a large feather, dunk the bird for a few more seconds. A bird that is ready to pluck will have feathers that you can essentially wipe off – they’ll be that easy to remove. Just take care not to cook the bird by holding it in the scalding tub too long.

When your bird is ready to pluck, either go by hand and remove all feathers (yes, I do mean ALL) or simply use your handy plucker and let it do the work for you.

When all feathers are removed, it is time to eviscerate (this means get all the guts out). This step is not as hard as you think, but it does require safety with a knife and a poor sense of smell. First, use a sharp kitchen shears or cleaver to remove the head and the feet of the bird. Lay the plucked bird on its back and slit the body cavity open horizontally just below the pelvic bone, taking care not to nick the intestine or organs. Reach in the opening you’ve made and pull out the guts, making sure to get everything. Using a lung removal tool will help you pop the lungs easily from the sides of the rib cage.
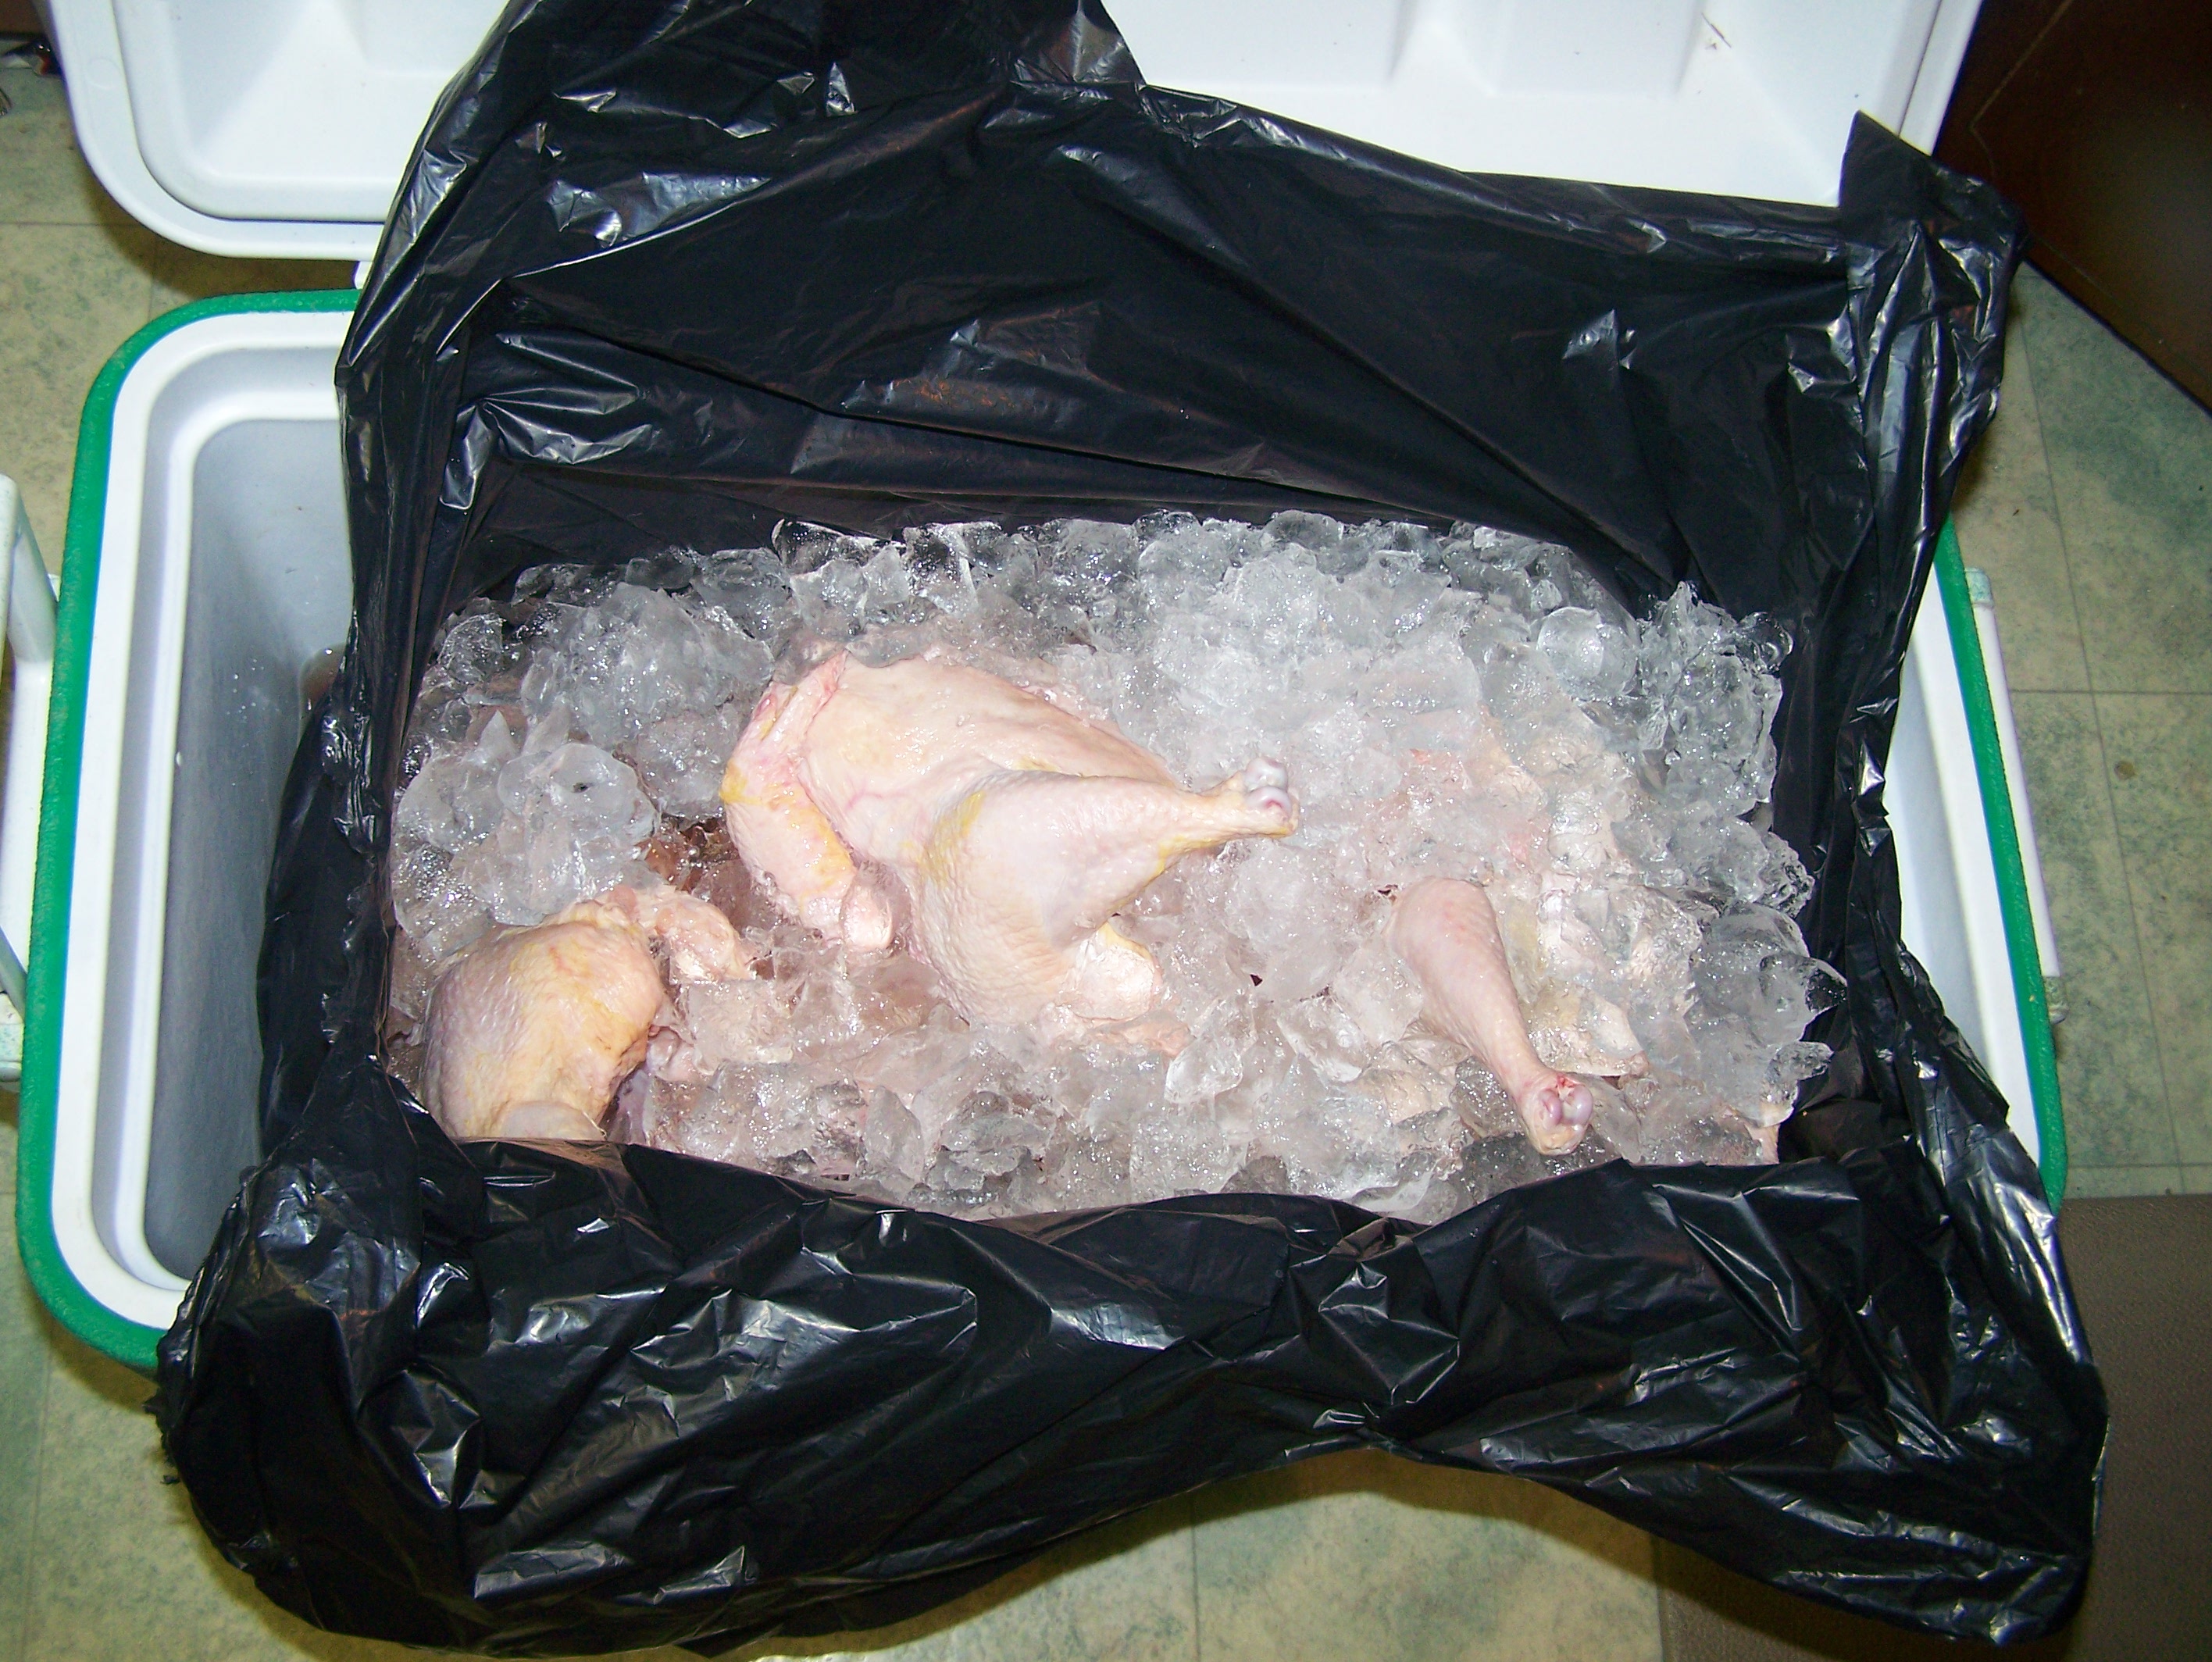
Give the cavity a good rinse with your hose, and put the carcass into an ice bath to cool out for 6 – 8 hours. Then, give each carcass a once over for remaining feathers and a final rinse – for this you can take your birds into the kitchen since this is a fairly clean step. Then wrap or vacuum seal and enjoy stocking your freezer with home grown meat!