How to successfully care for chicks?
Author: Jennifer Murtoff, Home to Roost, LLC
Bringing home your new chicks is an exciting experience. You’re on your first step in a fun and rewarding experience in chicken keeping. Giving your chicks the best start possible is important for happy, healthy hens, and this post will provide you with some helpful tips. You’ll want to do more research on your own or talk to your local feedstore for more information. Also ask about Nutrena feeds: we know that what’s inside counts. So we’ve crafted our new NatureWise® feed as an essential part of your birds’ nutrition to help your chicks and hens live their best lives.
Table of Contents
Key Takeaways
- Choosing the right chicks is crucial; consider their breed for eggs, meat, or ornamental purposes.
- Set up a proper brooder to keep chicks warm, safe, and provide them with the right bedding and space.
- Ensure chicks have appropriate nutrition; use Nutrena’s NatureWise feed specifically crafted for their growth.
- Prepare a comfortable coop with enough space, roosting bars, and secure areas to protect your flock.
- Transition feeds at 16 weeks to layer feed, gradually mixing with the old feed for a smooth switch.
How to choose a breed of chicks?
First, find a trusted source for your chicks and look for ones that are active. Next choose breeds based on your needs. Each breed has different characteristics.
- A laying-breed or hybrid production hen should produce lots of eggs over the first 2 to 3 years of her life.
- Meat breeds convert feed to meat very quickly, producing about a pound of meat for every two pounds of feed. They are generally harvested at 6 to 8 weeks of age.
- Dual-purpose breeds are kept for both meat and eggs. These hens may go broody, or stop laying eggs in order to hatch chicks. These birds are very popular in backyard flocks.
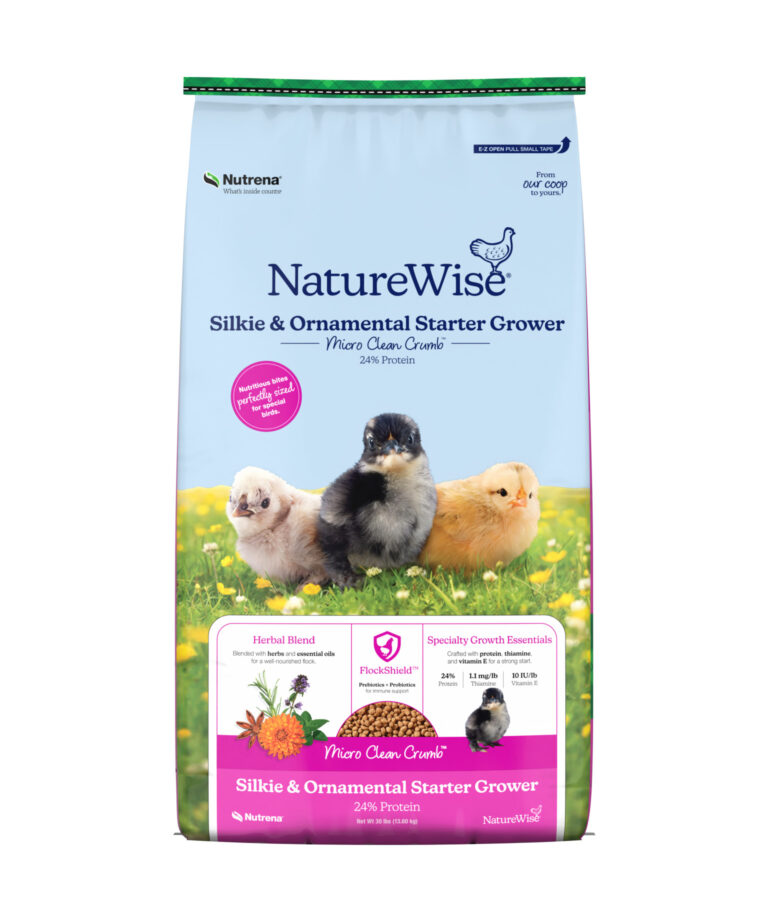
- Ornamental breeds are generally smaller with more intricate color patterns. They are often used as show birds; however, they tend to go broody and lay fewer eggs than dual-purpose birds.
Another factor to consider is your climate. Some breeds are very tolerant of heat; others can handle cold temperatures better. Some are suited to both hot and cold climates.
Ask if they have been vaccinated against Marek’s disease and coccidiosis. These are common diseases that kill young birds. Most hatcheries will vaccinate if you request it when you place your order.
How to create a safe space for chickens?
Provide your chicks with a safe place to live, and they should thrive. You’ll set up a brooder, an enclosure that keeps your chicks contained, warm, and protected from drafts, pets, and other hazards.
- A cardboard box or plastic tub can serve as a brooder. Place it in a room with a consistent temperature, away from drafts.
- On the bottom, place newspaper or another substrate that can be easily folded up and discarded.
- On top of the lining, put a layer of bedding, 4–6 inches thick, to provide traction and absorb moisture from droppings, such as chopped straw or pine shavings.
- Set up your brooder a day or so before you bring your chicks home to get the temperature right.
- The brooder should always be dry and should never smell of ammonia. If the floor is wet or if it smells, replace the bedding and the newspaper underneath it. You may need to replace the box if it’s wet.
- As the birds get bigger, you may want to use a bigger brooder.
- When the chicks start to use their wings, some hardware cloth or chicken wire over the top can help keep them contained.
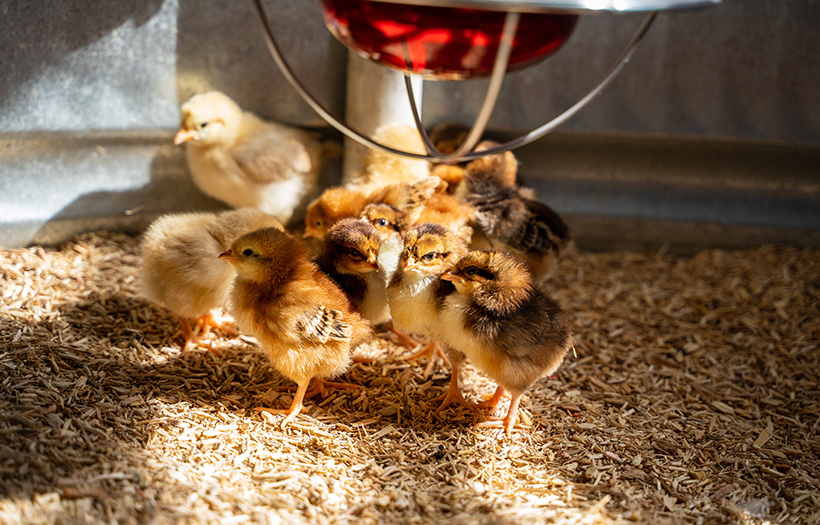
Keeping Your Chicks Warm
Chicks are hatched with a layer of fuzzy down, which is not enough to keep them warm. So if you don’t have a broody hen, you’ll need a heat source.
- You can use a 40- to 60-watt incandescent bulb, an adjustable heater plate, or a reptile lamp.
- Start with the temperature at 95°F and reduce the temperature by 5°F each week. As the chicks grow, you’ll raise the heat source to adjust the temperature.
- A small thermometer will help you be sure it is warm enough before your chicks arrive.
- Position the heat source at one end of the brooder. Once your chicks are in the brooder, they should venture out from the heat source and return when they get too cold.
- If the chicks are piled on each other, they’re too cold; if they’re consistently far away from the heat source, they’re too hot.
Choosing the Best Feed for Your Chicks
To get your birds off to a good start, food and water are important.
- You’ll need a small chick feeder and small chick waterer. You can provide several feed and water stations if you have a larger number of chicks.
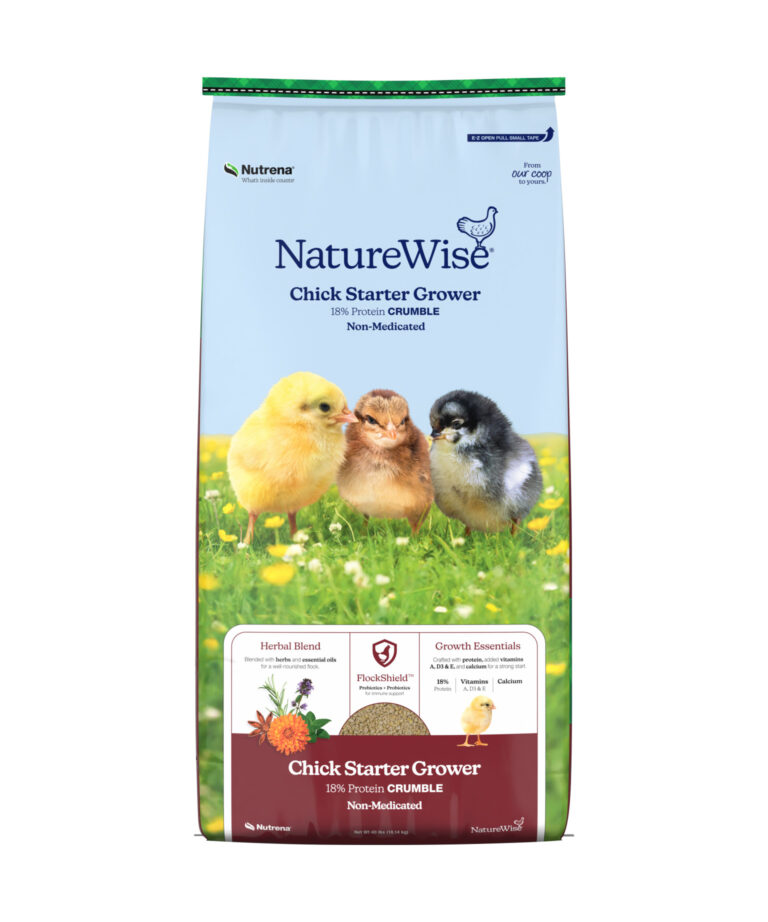
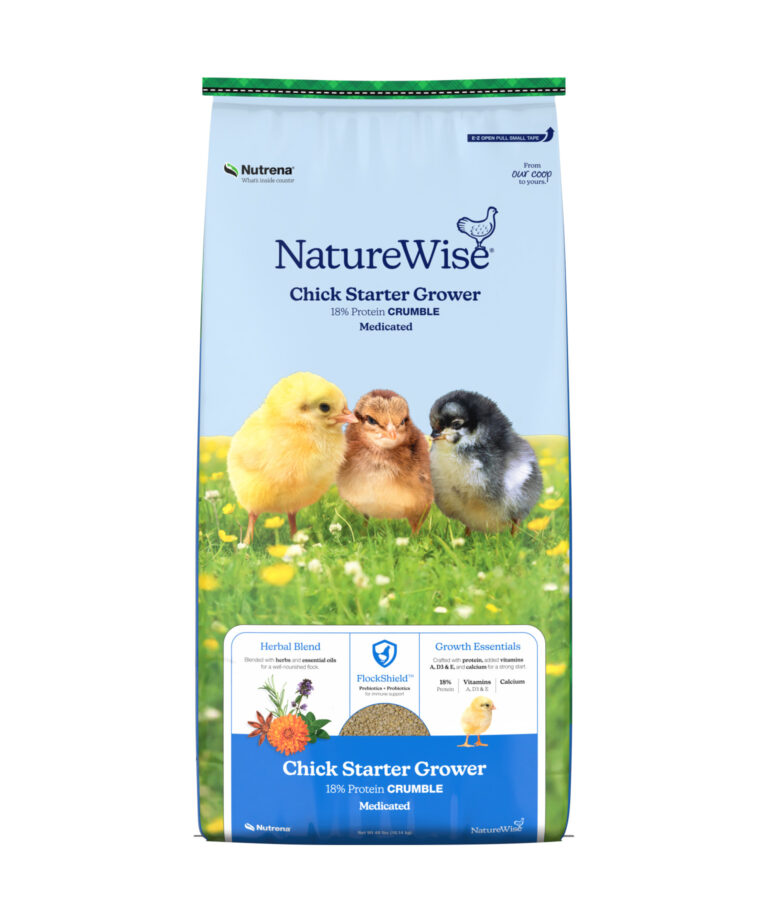
- Get a feed specifically for chicks; Nutrena NatureWise Chick Starter Grower will get them off to a perfect start.
- Most feed stores offer medicated feed, which ONLY protects against coccidiosis. (It is not an antibiotic and does not help with any other sickness.) Medicated feed should only be used if you have ever had coccidiosis on your property. It should not be fed if chicks have been vaccinated for coccidiosis.
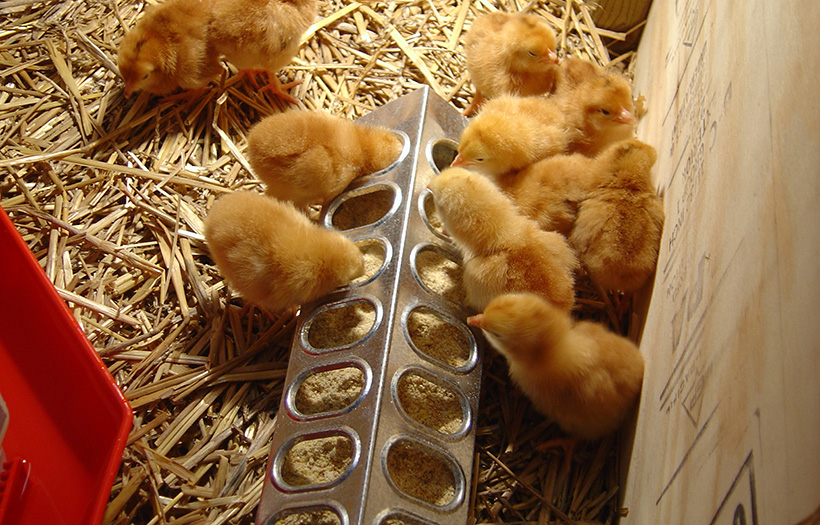
- Before you put the chicks in the brooder, put down some paper towels on the bedding and sprinkle the food on them. Once the chicks have learned what the food looks like, you can switch to your chick feeder.
- They can be messy, so be prepared to change out the feed and water multiple times a day.
Preparing Your Coop for a Growing Flock
Your chicks will grow fast and will need to be moved to a coop at 6 to 8 weeks as long as the outdoor temperature is 50 degrees or above. As you prepare their coop, it’s important to follow some basic guidelines.
- Provide 4 square feet per bird for the enclosed structure where the birds sleep at night.
- The run, the enclosed area they spend time during the day, should be 6 to 8 square feet per bird.
- If your birds live in completely enclosed housing with no run, provide 10 square feet per bird.
- Build bigger in case you get more birds.
- Your chickens will also need at least 1 roost bar (a 2×4 with the 4-inch side for them to stand on), at least 1 nest box for every 4 to 5 hens, and chopped straw or pine shavings on the floor.
- Use ¼” hardware cloth (chicken wire is not predator proof) for the run and windows to keep out vermin and predators. You can line the underside of the run with hardware cloth or extend it vertically 12” down into the soil from the base of the run and horizontally out from the sides of the run, just under the topsoil.
- Use secure locks on doors and windows to keep your birds secure at night.
- A roof on your run will help keep it dry, and the structure should be well ventilated but not drafty.
- Before you build, research coop designs and requirements, including those for windows, nest boxes, doors, and ventilation.
Transitioning to Adult Layers
When your chicks are 16 weeks old, you’ll transition them to layer feed.
- The new feed should contain appropriate amounts of protein, vitamins, and minerals to support healthy laying hens. NatureWise feeds contain all of these ingredients plus immune system support, essential oils to support health, weight, and egg size, plus yucca extract to minimize coop odors.
- Follow the manufacturer’s instructions for the transition from chick feed to layer feed. It’s often best to mix a little of the new feed in with the old and gradually increase the amount of new feed.
- Choose a feed that is similar in size and shape to the chick starter-grower.
- Offer oyster shell and limestone as a source of calcium and grit to aid in digestion.
- Treats such as mealworms and scratch grains can be given in moderation.
Ready to give your chicks the best nutrition for optimal growth and health? Explore Nutrena’s range of NatureWise feeds, specially crafted to support your flock’s needs. Take the next step towards ensuring your chicks thrive—discover the perfect feed for them today!